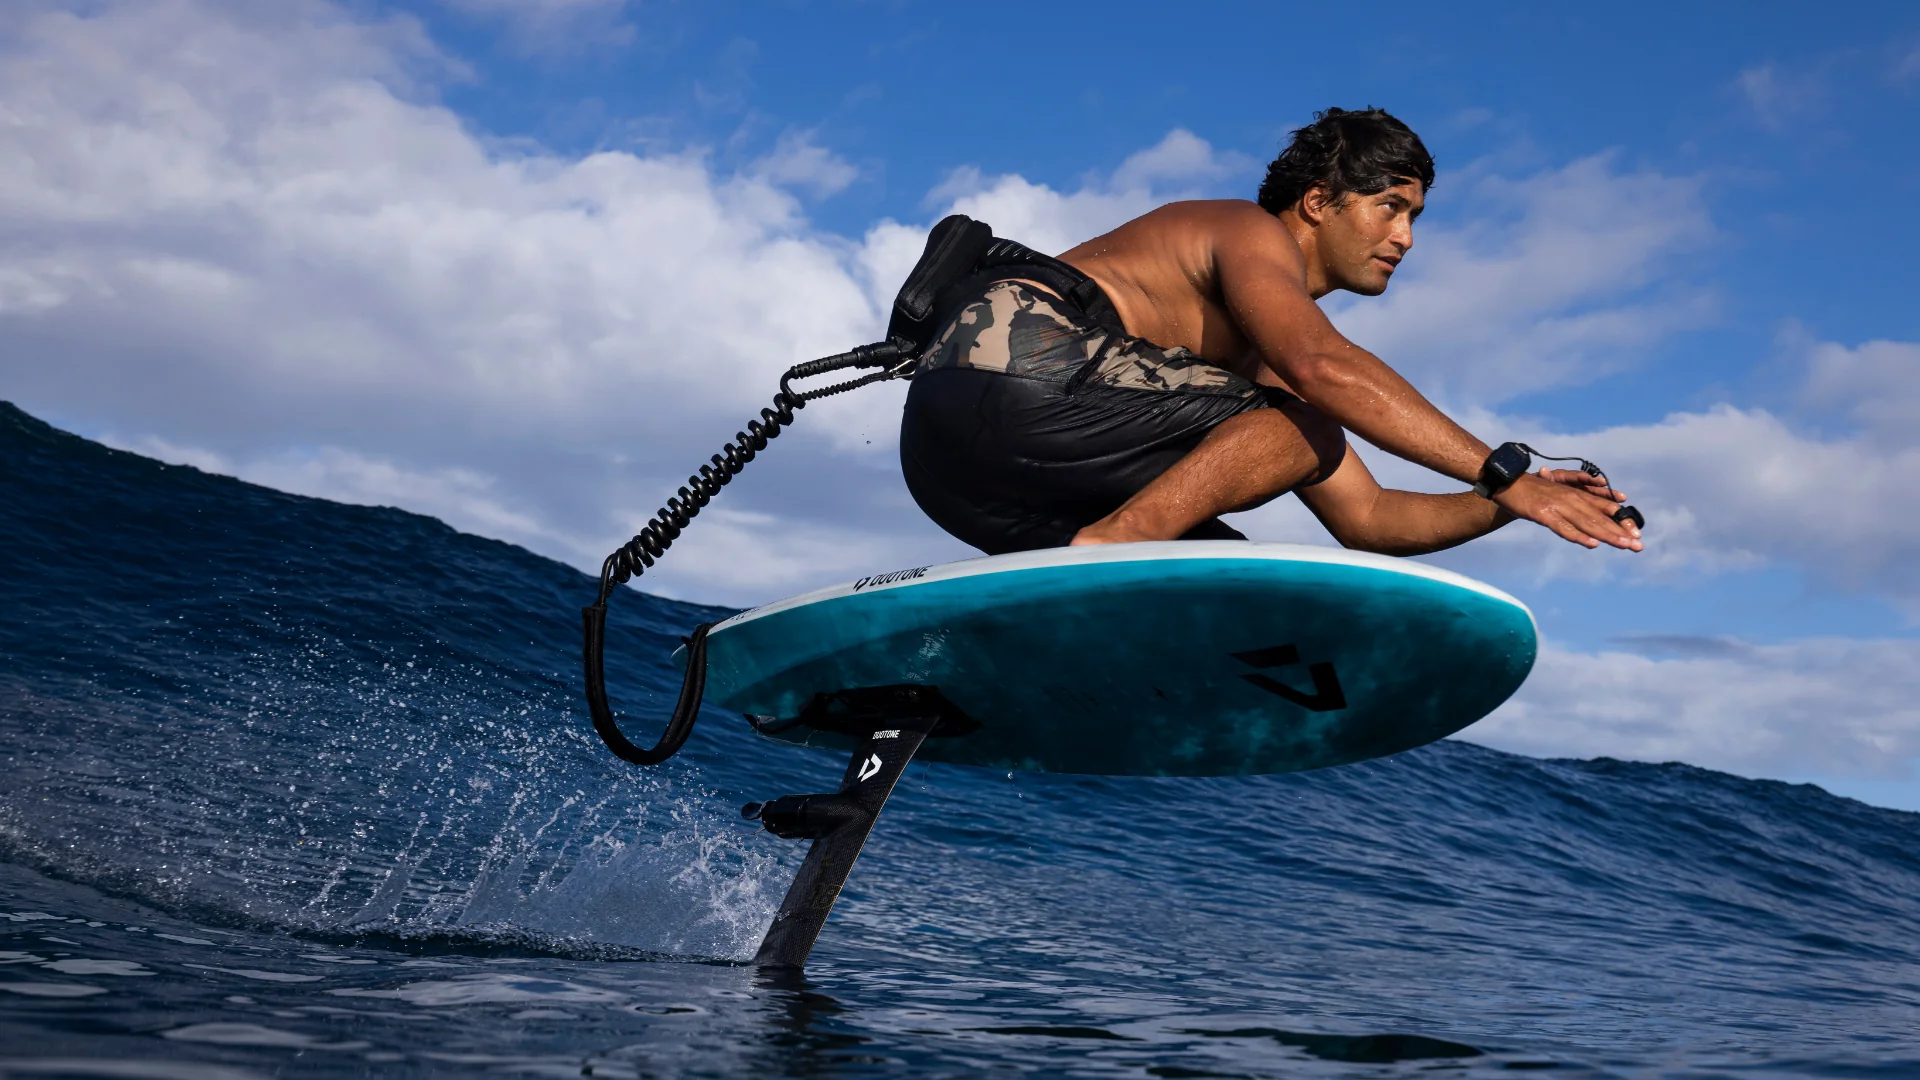
Electric foil assist is a game-changer: take-offs in light conditions, long-distance pump foil, surfing 30 cm waves, dock starts from a pontoon. The Duotone Foil Assist 2026 provides this assistance temporarily and lightly, as soon as you're on the foil, you cut the motor and return to pure gliding. Duotone has released 8 official videos covering the entire setup: we've gathered them here with the exact procedures from the 2026 user manual.
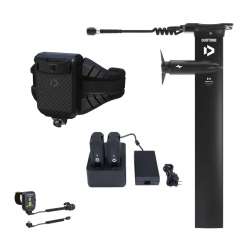
The Duotone Foil Assist 2026 is an electric propulsion system for foil that assists take-off: battery carried in the e-Harness (≈ 3.76 kg), motor integrated into the mast, foldable propeller, hands-free Watch Ring remote.
Default mode: Boost (7 speeds); Standard mode (5 speeds) is activated by pressing − + POWER simultaneously. Range 30 to 60 min. Three masts to choose from (AL, D/LAB carbon, Cruise AL) and multi-brand compatibility via adapters.
System Architecture
Three Motorized Mast Versions
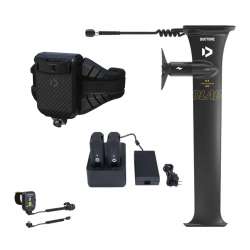
eMast AL (84 cm): motor 17 cm below the plate, compatible with 10+ brands with adapters. eMast D/LAB carbon (84 cm): the lightest and stiffest, 3BS connection, compatible with Duotone and Armstrong only. eMast AL Cruise (80 cm): low motor 15 cm above the fuselage, ideal for beginners and flat water, propeller guard included. All accept standard US rails.
eHarness + Watch Ring Remote
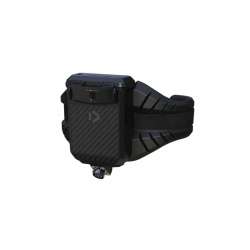
The battery is carried in the e-Harness, not in the board; the receiver is integrated into the battery box lid (stable transmission even in water). The waterproof Watch Ring is worn like a watch with a finger ring: double-click on + to activate, hold + or − to adjust speed. As soon as you release, the motor stops and returns to 0.
1. What's Included in Your Kit
The kit consists of 5 boxes. An inventory to check upon receipt:
- Box 1, eMast Set: motorized mast (AL, D/LAB or Cruise AL), motor bell, plastic blades (mounted + spare), internal cable, safety leash.
- Box 2, eHarness Set: harness with waterproof battery box + neoprene bag.
- Box 3, eRemote Watch Ring Set: remote watch + USB-C cable, finger ring, XL strap and spare S cushions.
- Box 4, Battery Charger Set: dual charger with fan + 4 power adapters (EU, US, AU, UK).
- Box 5, Battery Set: 2 batteries (30-60 min range) + protective caps.
- Not included: the Watch Ring's USB-C power adapter, third-party fuselage adapters, optional aluminum blades. The propeller guard is only provided with the Cruise version.
2. How to Assemble the Foil Assist
First assembly: mast attachment, fuselage adapter, cable management, harness and battery, then pre-water checklist. Motor vibrations loosen screws, check tightness before each session.
- Mast screws on rails: 4× M8x25, TX45, 15 Nm. Fuselage adapter (AL + Cruise only): 3× M8x50, TX45, 15 Nm. Cable attachment: 2× M6x30, TX30, 10 Nm.
- V-fastener to glue (3M adhesive, one time only): clean with alcohol, dry, press for 30 s, let stick overnight. Removable V-clip: to attach and remove with each use to secure the cable.
- Harness/cable connector: fully engaged twist-lock is mandatory before entering the water (electrical risk). Motor connector: align with notches, never force.
- Downwind boards or long tail: combine bungee + V fastener to keep the cable away from the propeller. Replace protective caps as soon as connectors are not in use.
Never run the motor out of water (overheating). Magnets are powerful: never put fingers between the bell and the plate.
3. How to Maintain Your Foil Assist
In saltwater, no session is "without consequences": the lifespan of the motor, bearings, and connectors directly depends on post-session rinsing and lubrication.
- Rinse harness and battery box closed with cable attached, never open the box when wet.
- Remove the motor bell, rinse the inside and the bearings, then dry everything with a microfiber cloth.
- Motor lubrication: 2-4-C marine grease. Bearings: WD-40 Specialist Penetrant only (never classic WD-40, it attacks the seals).
- Wet connectors: rinse → compressed air → dry → thin layer of dielectric grease. Replace the caps.
4. Using the Batteries and Charger
The batteries are specific LiHV: 7 Ah · 22.8 V · 159.6 Wh · 1 kg each. Two batteries are mandatory to activate the system. Capacity is limited to 159.6 Wh to stay under the 160 Wh airline limit (airline approval + fireproof bag required).
- Charging: charger and connectors must be dry, in a ventilated area and under supervision. Red dock buttons = charging; green = finished. Battery LEDs: 1 = 25%, 2 = 50%, 3 = 75%, 4 = 100%. Both batteries recharge in ≈ 45 min.
- Wait 30 to 60 min after a session (return to ambient temperature) before charging; never charge a hot or cold battery. Full capacity after 3-4 cycles.
- Storage mode after each session: 2-3 LEDs (40-60%). Never leave a battery empty or full for prolonged rest, both degrade the cells. Complete a full cycle at least every 3 months.
- Store at 10-25 °C, never in direct sunlight or on hot sand, in a fireproof bag. Optimized range with front wing ≥ 900 cm² + board ≥ 35 L.
5. Charging the Watch Ring Remote
The Watch Ring is watertight, provided you check the O-ring, an often-overlooked step that determines watertightness during your session.
- Charge with a USB-C wall adapter (not included), remote completely dry. Screen off = charging complete, unplug immediately.
- Before reattaching the ring cable: ensure the O-ring is in place around the connector. A missing O-ring means the remote is not watertight.
- The ring cable pivots up to 180° maximum, do not force it beyond that. Clean connectors with a dry cotton swab. Charge at least every 3 months.
6. Resetting the Remote
In case of connection loss, this procedure puts the Watch Ring into pairing mode. Pairing must be finalized within 20 seconds of turning on the batteries.
- Reset: hold POWER + plus button simultaneously until the screen flashes (pairing mode).
- Turn on the batteries: press both battery buttons simultaneously for 3 seconds, complete within 20 seconds or restart.
- Success: the remote vibrates and displays battery levels. A crossed-out icon at the bottom right = no connection, re-pair. Keep the Watch Ring off on the beach.
7. Standard Mode or Boost Mode
Two modes depending on your skill level: Boost (7 speeds, default) for maximum power (difficult take-offs, downwind) and Standard (5 speeds) for linear power delivery, recommended for beginners.
- To change mode: press − and POWER simultaneously (toggles Boost ↔ Standard).
- To activate the motor: double-click + (anti-start safety). Hold + to accelerate, − to reduce.
- Release = the motor stops and returns to level 0. Standard Mode = better range and control for your first sessions.
8. Attach the propeller guard (Cruise version)
A safety feature exclusive to the Cruise AL version, essential for learning and in busy areas (feet and hands can get close to the propeller during falls).
- Turn off the battery before any handling. Remove the bell + propeller by pulling straight out.
- Remove the motor screws (3× M4x10, TX20) without removing the entire motor. Attach the guard with 3× M4x14, TX20 + medium threadlocker, 3 Nm.
- After assembly: check that the bell spins freely and that the blades do not touch the guard. Incompatible with standard AL and D/LAB masts.
9. Change the propeller blades
Blades wear out and can be damaged by impacts. Quick replacement with an M4 Allen key, transferring the seals is the key step.
- Turn off the battery. Tools: 2× M4x35 + washers + M4 nuts, Allen key #3/M4, 3 Nm.
- Transfer the seals to the new blade. Blades marked 1 and 2: ensure correct matching. Check that the notches are stacked for free folding.
- Plastic blades (standard): lightweight, good damping. Aluminum blades (optional): more thrust but only for experienced foilers. Cracked blade = immediate replacement.
10. Replacing the Motor
In case of impact or failure, the motor module can be replaced in the field, in a clean and dry environment.
- First, turn off and disconnect the battery. Tools: 3× M4x10, TX20, medium threadlocker, 3 Nm.
- Disconnection: pull straight out, never twist (this preserves watertightness). Check mast/motor insert alignment and proper seal positioning before insertion.
- Apply medium-strength threadlocker (Loctite Blue 243) to the screws. Dry test for a maximum of 3 seconds before re-entering the water. Complete step-by-step guide in the Duotone Helpcenter.
11. Replacing the Cable and Connector
The connector is attached to the mast's top plate with 4 screws. A damaged cable can be transferred to a new mast or replaced entirely.
- Tools: 4× M4x12, TX20, 3 Nm. Connectors must be clean and dry. Apply a thin layer of dielectric grease if exposed to sand, salt, or water.
- Push firmly (male/female plugs fully engaged), using moderate torque to avoid crushing the seals.
- Preventive inspection: check the cable sheath and the tightness of the 4 screws, especially after intensive sessions. A cracked sheath = immediate replacement (risk of short circuit and ESC damage).
FAQ: Duotone Foil Assist
What is the difference between Foil Assist and an eFoil?
Foil Assist helps with take-off without replacing the glide. The battery is worn in the e-Harness (≈ 3.76 kg with batteries), not in the board; range 30-60 min. An eFoil provides continuous propulsion with an onboard battery in the board: a very different riding style.
How do I activate and change modes on the Watch Ring?
Double-click + to activate the motor (anti-start safety). Hold + to accelerate, − to reduce; release = stop. Default mode: Boost (7 speeds). To switch to Standard (5 speeds): press − and POWER simultaneously.
Can the Foil Assist be used with foils from other brands?
AL and Cruise AL masts are compatible with Duotone and 10 other brands (F-One, Armstrong, Gong, Axis, Lift, North, Code, Sab, AFS, KT) via fuselage adapters sold separately. The D/LAB mast is exclusively compatible with Duotone and Armstrong.
What is the battery life?
Batteries reach full capacity after 3-4 complete cycles. By following storage mode after each session (2-3 LEDs), recharging every 3 months if unused, and respecting storage temperatures (10-25 °C), their lifespan is optimal. Improper storage (empty or full) is the primary factor in degradation.
Why buy Foil Assist from GlissEvolution?
Plus de 20 ans d'expertise en sports de glisse, conseillers qui testent le matériel sur les spots de La Baule et Pornichet, SAV réactif basé en France, garantie 2 ans, livraison offerte dès 150 € (au mode de livraison le plus économique) et retrait possible en magasin à Pornichet.
We'll help you choose
No need to live in the area: call us or make an appointment (phone or video call) with a rider from our team. We'll advise you on the right mast (AL, D/LAB or Cruise), your foil's compatibility, and how to get started with Foil Assist.
Make an appointment Call us Email us
Sources: Duotone Sports, How To Videos Foil Assist 2026 and official Duotone Foil Assist 2026 user manual. Compilation and formatting by GlissEvolution.
 DUOTONE
 Duotone Electric